Showing posts with label fabric. Show all posts

Monday, March 2, 2015

QuiltCon 2015, Goodtimes!

What can we say about QuiltCon and Austin, Texas? It was the biggest ball of inspiration and love! The restaurants and food were amazing! Everyone we met was oozing inspiration and everything we saw was colorful, eyecatching and beautifully executed. Thank you for all the inspiration and encouragement we will try to put it all to good use!


Chelsey and I took some classes and learned lots of techniques for making our own fabric designs. Being in class with others is such a good experience: you learn so much not only from the teacher but from the other students as well.

Chelsey pulling paint over a screen.
Screen printing with Celina Mancurti

Mod Corage with Anna Maria Horner
Block Printing with Lizzy House
My carved block and test prints.
The lectures were abundant and the speakers were well prepared. The topics were relevant and every lecture we attended were full of great information. What a bonus and surprise to get so much encouragement and ideas for future projects.
The Art Of Teaching With Jacqui Gering
Social Media Lecture with Christen Barber
The vendor booths were full of inspiration, we love how the fabric houses draw you in with color and style!
Windham Booth
Cloud 9 Booth (NYC Metro Mod Guild made the HST Quilt!!!)
The quilts were so imaginative and unusual, I submitted a quilt that didn't make it in.  It was good to see exactly what got in, learn from what was hanging, and how to make the next quilt one they will accept!


We were lucky enough to travel with Helen at Till We Quilt Again! We had so much fun eating and learning our way through Austin. There was a (real)tattoo booth and plenty of tattooing going on!! We opted for the fake tats from C&T Publishing's booth and had tons of fun taking pics!


As you can see we had a great time. We even got to share what we learned in class with each other after delicious dinners out. So glad I got the opportunity to experience QuiltCon in Austin.

Go make something!

Nini~

Friday, February 6, 2015

Weekly Inspiration Linky Party 2/6/15

Weekly Inspiration is Awesome!

And so is the 5th and final day of Valentine Lovelies!!!

Hearts N Twine

Both of the projects seen here were in our weekly inspiration posts recently. I love when something just jumps out at you and says "make me!". The knitted hearts are quick and simple knitting, it took me about 10 mins to knit one side, you can have one finished in a half hour easy. Directions are here.


The scrap fabric twine is a pleasant surprise! I thought this is going to be a painful project that was going to take  f-o-r-e-v-e-r! I decided to give it a try and if it proved too daunting, I could give up. It turned out to be a win-win! I love raiding the scrap buckets and using up my scraps, and it really goes fairly quickly, depending on the size of your project of course.  Helen from Till We Quilt Again, is going to make a throw rug so that will be a much bigger commitment, but the twisted twine I made for the hearts was whipped up in a short amount of time. I'm so glad I gave it a try!


I learned a valuable lesson, it might not be as bad as it appears! I love when that happens!! 


The only decision now is where to use it, I can't seem to find a good spot for it! It just may end up being a gift for someone special!

Share your inspirations with us please!!
Nini & The Sea


Go make something!
Nini~


Thursday, January 1, 2015

Carve December

Happy New Year!!!  Let's talk about December!

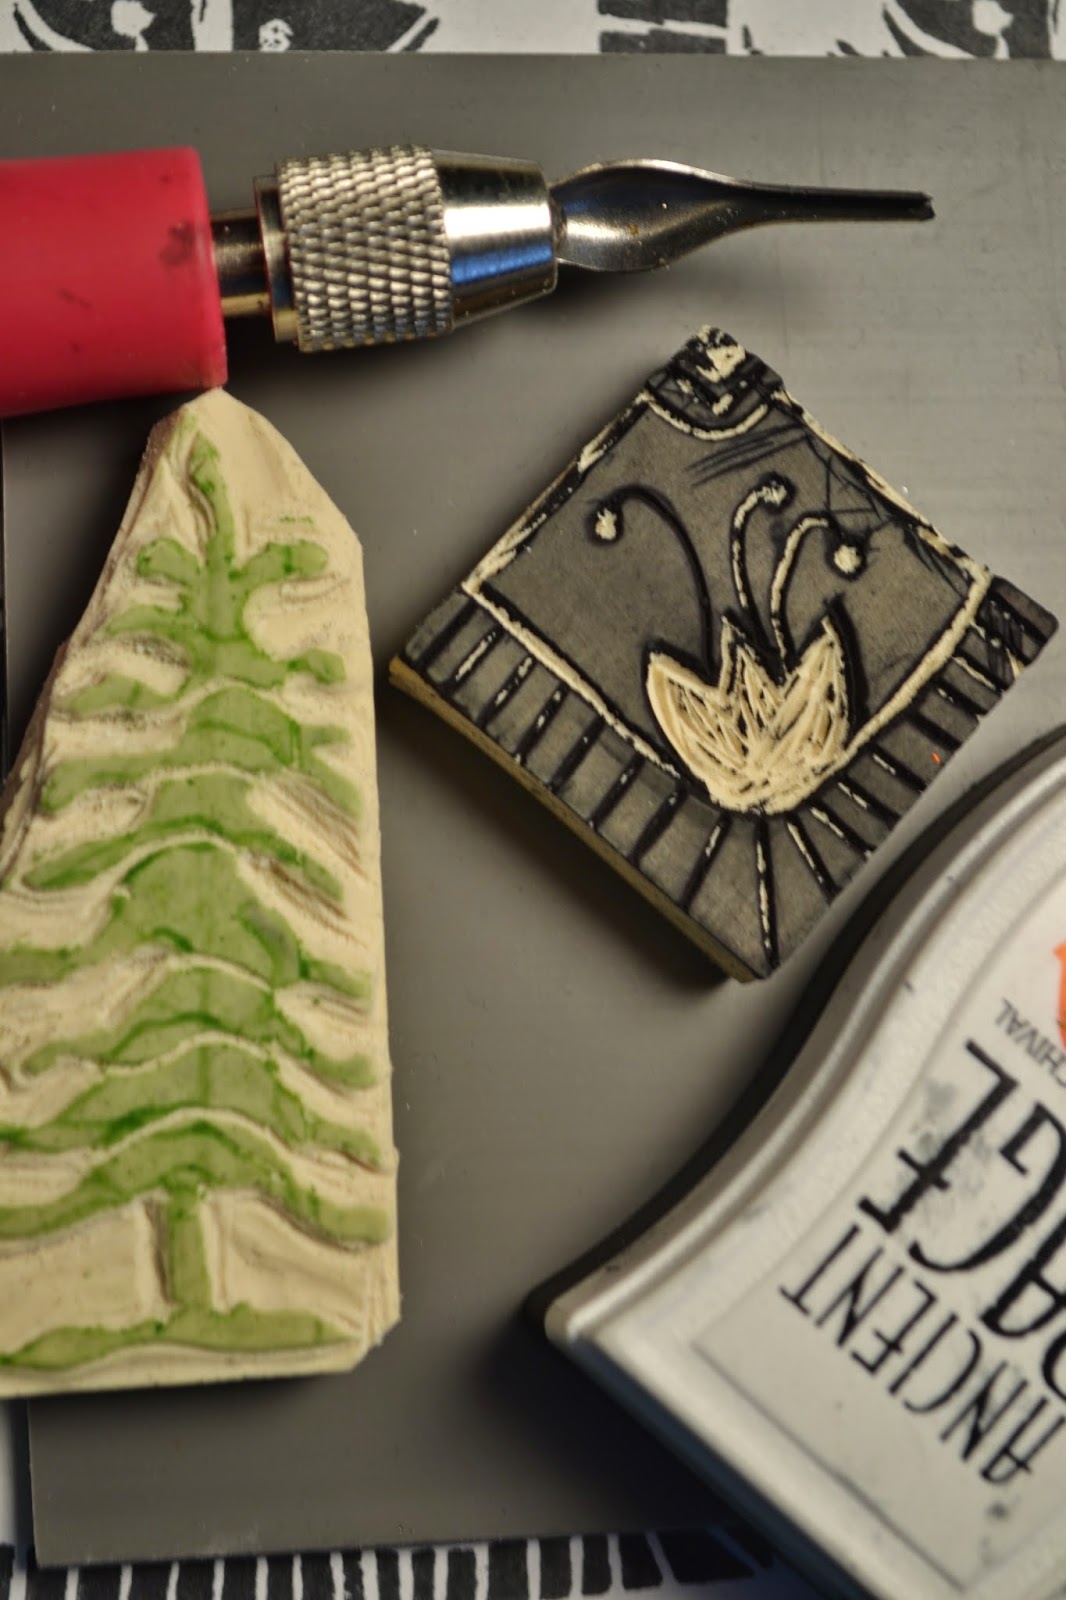
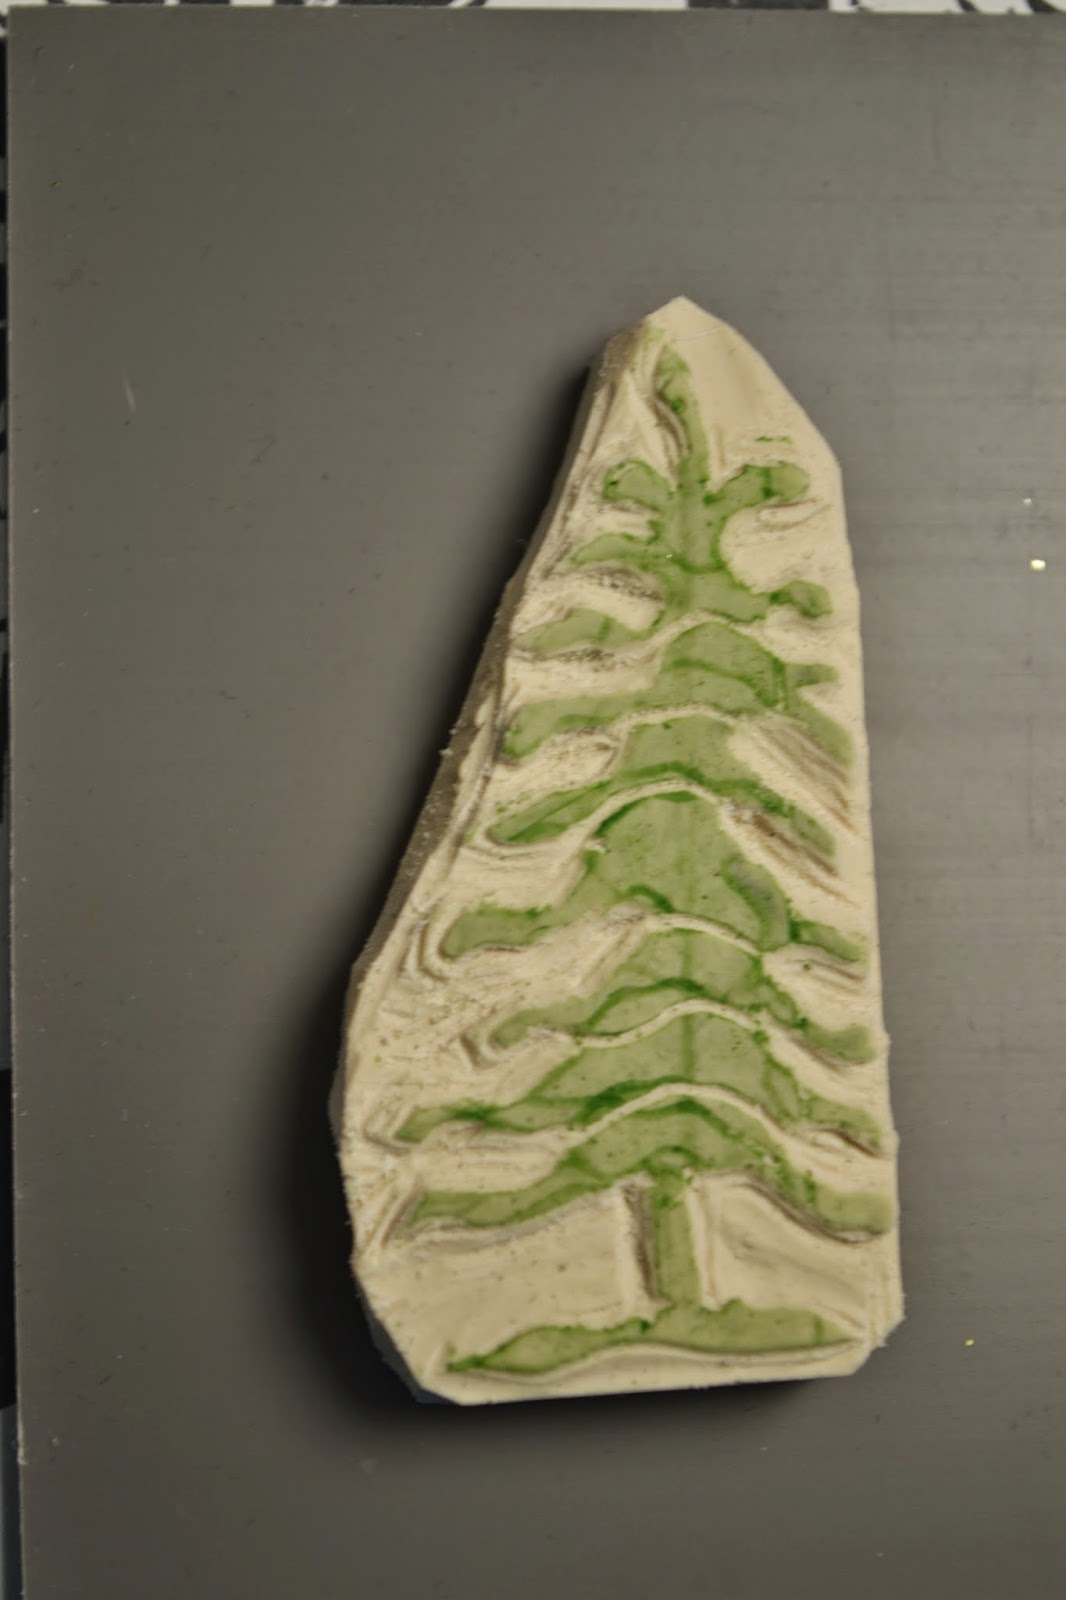
I couldn't resist Julie Fei-Fan Balzer's  Carve December, she's carving rubber stamps everyday in December!! I love her style, inspiration and blog. I have been preparing for Project Life journaling in 2015, so I thought it would be fun to join in and carve some rubber stamps for my journaling project. I have carved stamps before, I took a class at an art retreat a few years back but never really did much with it. Julie's carving has sparked a new interest for me. I find carving very relaxing. If you wanna give it a try Julie has an online class here. Julie is a mixed media artist and does some fun sewing projects and makes all kinds of fun fabric. You might want to check her blog for some great ideas. There's also a lot of info on stamp carving on pinterest and youtube, so if you'd rather try it for free snoop around the internet you're sure to find some good info. Here's my attempts!
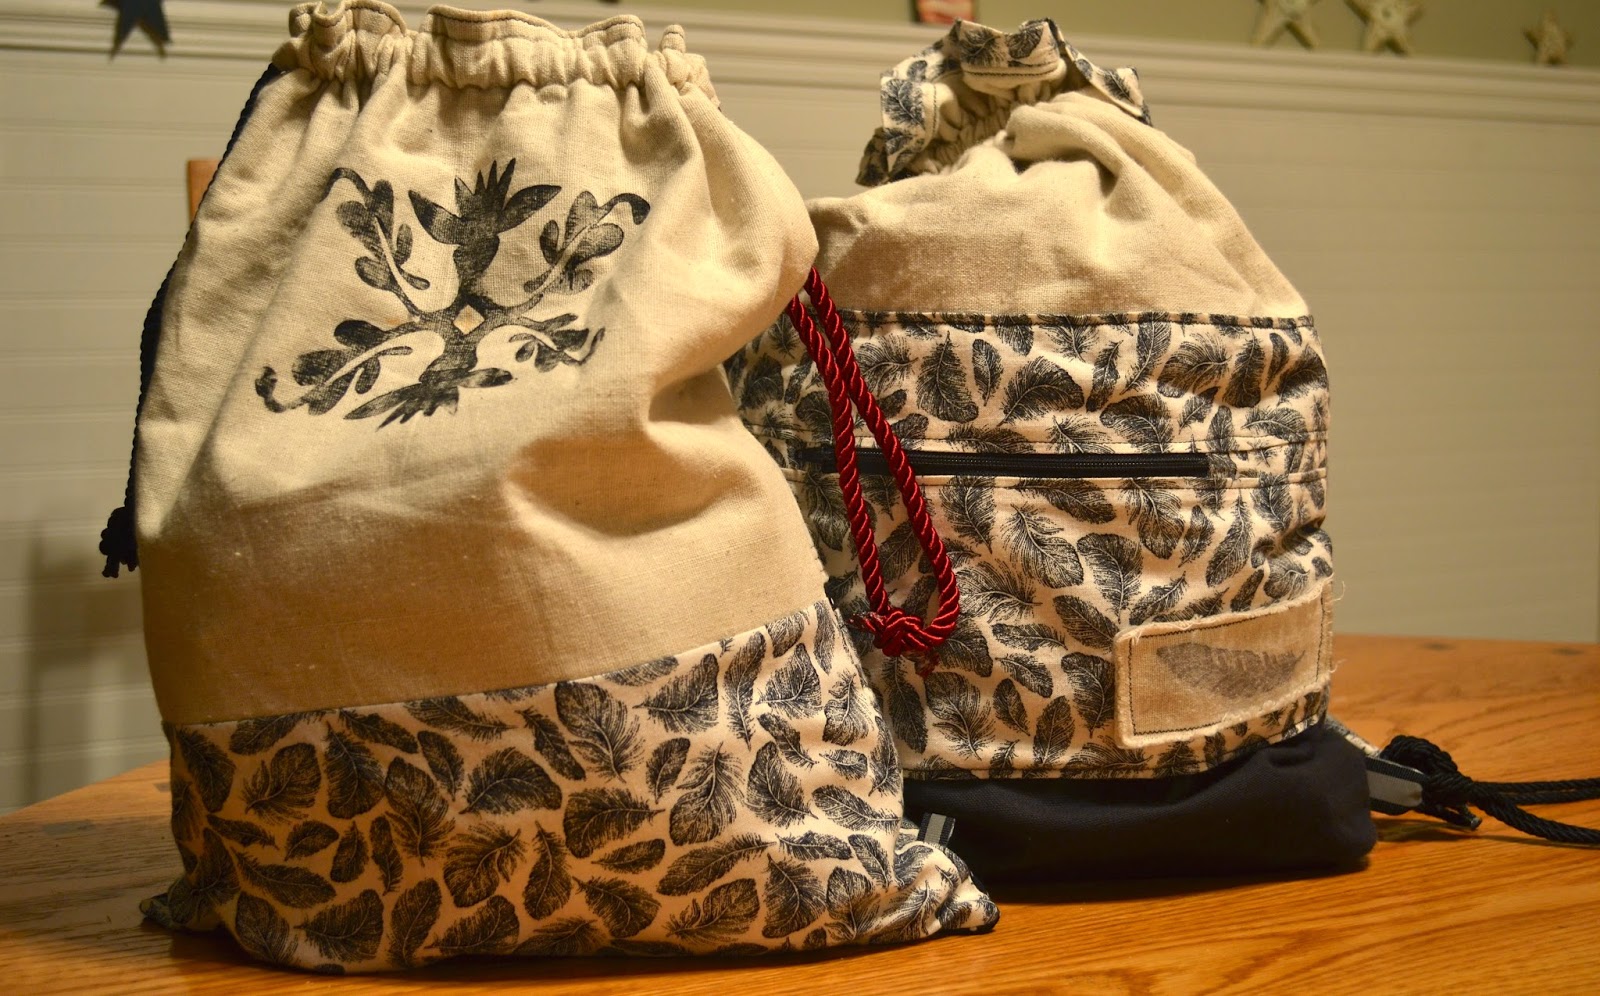
I use stamps on fabric as well as my paper crafts. For stamping on fabric I add a fabric medium(there are lots of brands to choose from, this is one example) to acrylic paint and stir well, then pour it on a piece of wax paper, roll a brayer into the paint to coat the brayer and roll it over the stamp to load the paint on the stamp, then press it down onto the fabric. I did not carve the stamps used below in my projects, but I plan to use my own designs in the future! Stamps with little detail work best and are also easier to carve!
I stamp the fabric before I assemble the project I am using the stamped fabric in. I like having fabric that is unique and one of a kind. Stamping is an easy way to get original fabric!

Go make something,
Nini~

Monday, March 17, 2014

Been Dying to Snow Dye!

Helen, my cohort in crime and all things fun, keeps me on my toes and learning! So when I got the signal for snow dyeing I answered with an enthusiastic Yes!! We've had lots of snow around our parts this winter. We did all our dyeing in her kitchen which I thought was a dangerous idea with her kitchen being mostly white! I kept thinking she's the expert, I'm just following her lead...and will be REALLY careful not to spill anything! Oh geez, I sure hope I DON'T spill anything!!! It didn't take me long to forget all that when she pulled out all the pretty dyes and we started mixing them with water...I was so caught up in all the colors and potential projects I never gave the pristine white kitchen another thought!! It was all covered with clear plastic tarps and bags, all but the floor so all the color was pretty contained.
Procion dyes, powder added to water.

So following Helen's lead I started picking fabrics and dyes and just did what she did...we had so much fun drizzling the dye over the mounds of snow and fabric. We did a few different techniques to dye, we poured dye directly on the fabric in a tub, used the snow to cover the fabric suspended by a screen and frame above the tub and then drizzled dye on the snow and then we painted Lumiere paints by Jacquard onto silk scarves and pieces of fabric with foam brushes.


That is snow on top of a mound of fabric with dye drizzled all over it, the white fabric has a white leaf printed all over it.


Helen painted fabric she can use for a sunset sky background. This is the Lumiere paints painted on wet  cotton fabric, we sprayed water over the fabric as she painted. We should have heat set this in a dryer or with an iron, but we didn't, we soaked it in synthrapol and rinsed....most of the color out! Read directions before you begin, this is a public service announcement!!!

This is a piece we both painted we're going to cut it up and use them  as a challenge project.

I used old fabrics that I didn't like anymore, they aren't too much improved, but I believe I can use them for an upcoming project. I also used plain white fabric and made them more interesting. Our colors were really washed out and lighter than they should have been...I hope to develop much deeper  richer colors next time. Below are the results.

The middle fabric was supposed to be black, the top right fabric has glitter, lower right was a tan color with red hearts, the bottom left was plain white, and the two top left fabrics were printed fabrics with a light background. I like all but the black, I'll dye that one again next time.
Close up of the printed fabrics I like how the print is a resist.

I will definitely try this in my craft room, I already ordered some supplies from Dharma Trading Co. mostly painting supplies. I will share our silk scarves in another post because mine is so washed out you can't see much color. I have a wax resist applicator I am going to try on it and then paint it with Lumiere paint and HEAT set it this time! Stay tuned for that post!

Thank you Helen for teaching me more fun things!

I have been reading up on procion dyes and I found a tip that is supposed to make the colors more vibrant. It says to use urea granules in the water you add the dye. They call it chemical water. So I bought some urea granules and hope to get to try it soon. It's March 17th and we just go 8 more inches of snow in South Jersey!!! Snow reason not to dye!!!

Go make something!!

Nini~


Friday, February 28, 2014

1 Year of Quilting!


February marks one whole year since I began quilting!  I have learned so much more about fabric, thread, and sewing machines than I ever thought I would!
Table Runner - First completed quilt project!

Sailboats - Second Project
Some free motion quilting - Wicked Blog Hop
Quilted Mug Rug
Twin Sized Quilt - Quilted on a Long arm
Baby quilt from the book "Quilt Modern"


Love Swap - free motion quilted the three "loves" at the bottom
Quilt top made, not yet quilted


Huge thanks to my Momma, Helen of Til We Quilt Again, and my MomMom for teaching me the basics and helping me with any questions that arise.

Can't wait to see what lies ahead!

Here's to many more quilting years!

Wishing you big waves and an artful day,
~C


Thursday, October 3, 2013

Subway Tile Ironing Pad

This is my sewing and ironing area:


I use an old towel over the table as an ironing mat.  I'm sure it's not a great idea and sometimes the towel is stuck to the table and leaves chunks of pink fuzz behind.  It's lovely really.  On my last fabric shopping trip to Lancaster, PA I found this iron carrier/ironing pad and thought it was a great thing for me to make!


However once I got it home I realized it's for a travel size iron not my regular size iron! So I decided to just make an ironing pad, no iron caddy and use it instead of the old pink towel.  While in Lancaster I also bought this mini jelly roll just because I liked the colors.


I ended up with a subway tile pattern ironing pad!  And I love it!


It really makes my sewing/ironing area look like less of a mess and better yet there are no pink fuzzies left stuck to the table after I iron something!


Have you made anything to help clean up/organize you crafty space lately? I'd love to hear about it!

Wishing you big waves and an artful day!
~C